Table of Contents
Introduction
Your Own Pilates Reformer: DIY Guide
Making a Pilates Reformer from Old Furniture
Affordable Pilates Reformers for Home Workouts
Q&A
Conclusion
"Build Your Own Pilates Reformer for Strength"
Introduction
Wood, springs, ropes, and a carriage are needed to create a Pilates reformer. Cut and assemble the wood to make the frame, attach the springs and ropes to the carriage, and secure it to the frame. To ensure reformer safety and function, follow a specific plan or seek professional help.
Your Own Pilates Reformer: DIY Guide
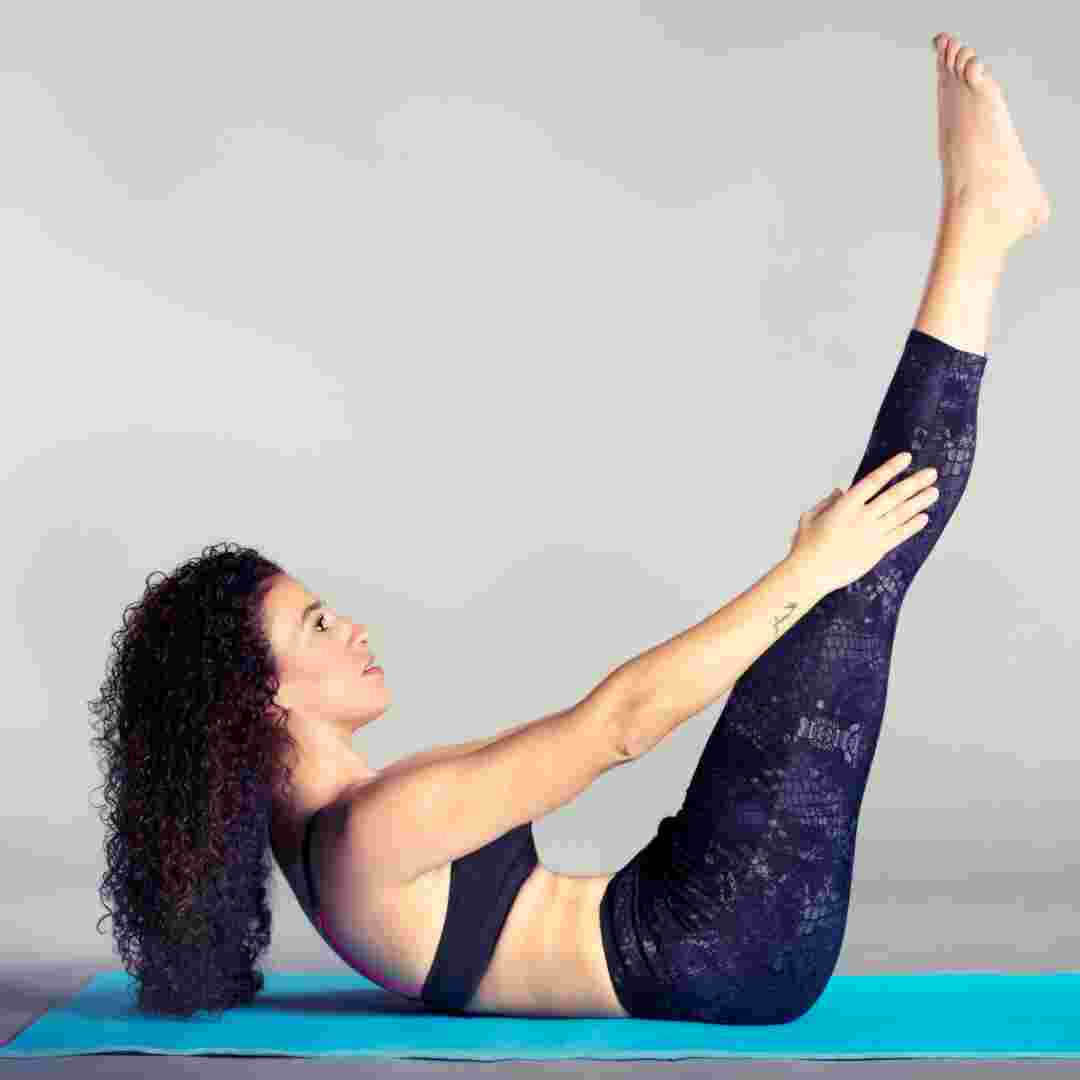
Pilates is a popular exercise that strengthens core muscles, improves flexibility, and aligns the body. A Pilates reformer, which allows for many exercises, is one of the best ways to practise Pilates. However, Pilates reformers are pricey, so many individuals build their own. This article explains how to make a Pilates reformer step-by-step.
Before creating a Pilates reformer, gather all the materials. A wooden frame, springs, ropes, pulleys, and sliding carriage are needed. Hardware stores and online retailers sell these supplies. Make sure your materials are high-quality and can endure your body's weight and pressure during activity.
The wooden frame must be assembled after gathering all the materials. The frame should sustain your weight. Build the frame with plywood or hardwood. Cut the wood to size and shape, then screw and nail the pieces together. Make sure the frame is level and square before continuing.
Install the springs after building the frame. Exercise resistance comes from the Pilates reformer's springs. The springs must be mounted on the frame with metal brackets. Make that the springs are equally distributed and properly attached to the frame.
Install the ropes and pulleys next. The sliding carriage moves along the frame using ropes and pulleys. You must use metal brackets to attach the pulleys to the frame and thread the ropes through them. Make sure ropes are taut and flow smoothly through pulleys.
Final step: install the sliding carriage. The sliding carriage glides along the frame as you lie on it during exercise. Use metal clips to secure the carriage to the ropes. Make that the carriage is level and glides smoothly on the frame.
Your Pilates reformer is ready to use after all the processes. Remember that creating a Pilates reformer takes skill and knowledge. If you're not sure you can build a reformer, hire a pro.
Finally, creating your own Pilates reformer might save money for home practise. However, you must have all the ingredients and follow the directions properly. Your own Pilates reformer and its benefits are within reach with a little patience and effort.
Making a Pilates Reformer from Old Furniture
Pilates is a popular exercise that strengthens core muscles, improves flexibility, and aligns the body. A Pilates reformer, which allows for a variety of exercises, is one of the best ways to practise Pilates. Pilates reformers are expensive, therefore not everyone can afford one. Luckily, old furniture can be recycled into a Pilates reformer.
First, choose a suitable piece of furniture for the Pilates reformer foundation. Wooden bed frames and solid tables work well for this. The furniture should be solid enough to support the user and have a level surface at least as wide as a Pilates mat.
After finding a good piece of furniture, add the necessary components to make a Pilates reformer. The carriage—the platform that glides along the reformer frame—is the most significant part. To create a carriage, you need plywood the same width as the furniture and long enough to extend beyond the frame on both ends. The plywood should be at least 1/2 inch thick to sustain the user's weight.
Next, attach four wheels to the plywood's bottom to make it travel smoothly along the frame. You can use skateboard wheels or casters. The wheels should be screwed or bolted to the plywood and equally spaced along the carriage.
The carriage must be attached to the reformer frame by adding two rails to the plywood underside. Railroads should be fashioned from wooden dowels or metal rods the same diameter as the wheels. The rails should be parallel and extend beyond the plywood ends. Screws or bolts link the rails to plywood.
The footbar and springs must be added when the carriage is finished. The reformer's horizontal footbar anchors the feet during exercises. Footbars can be fashioned from metal pipes or wooden dowels fastened to the frame with brackets or clamps.
Reformer springs offer resistance during exercises, making them the most significant part. Heavy-duty elastic cord and metal clips are needed to produce springs. Cut the elastic cord somewhat longer than the carriage-footbar distance. Attach clips to the rope ends and clip them to the carriage and footbar.
Finally, cushion the carriage for comfort. For this, utilise foam cushioning or yoga mats. Attach the padding to the plywood top with adhesive or staples.
Finally, creating a Pilates reformer at home saves money and recycles old furniture. With some imagination and basic DIY skills, you can make a high-quality reformer for a variety of Pilates exercises. Following the instructions above, you may make a gorgeous and practical reformer that will last for years.
Affordable Pilates Reformers for Home Workouts
Pilates is a popular exercise that strengthens core muscles, improves flexibility, and aligns the body. A Pilates reformer, which allows for many exercises, is one of the best ways to practise Pilates. However, Pilates reformers are pricey, so many individuals create their own. This article covers making a Pilates reformer at home.
The first stage in creating a Pilates reformer is gathering supplies. A 6-foot-long, 1-foot-wide hardwood plank, two 6-foot-long, 1-inch-diameter wooden dowels, two 1-foot-long, 4-inch-wide wooden blocks, two metal brackets, four carriage bolts, four washers, and four nuts are needed. A drill, saw, sandpaper, and measuring tape are also needed.
After gathering the materials, chop the hardwood plank into two 3-foot sections. Smooth the board edges with sanding. A drill bit somewhat larger than the wooden dowels should be used to drill two holes at each end of each plank. The holes should be centred 2 inches from the plank's end.
Put wooden dowels in one plank after drilling the holes. The dowels should be flush with the plank. Top the dowels with two wooden blocks, one at each end. The blocks should be flush with the board and centred on the dowels.
After placing the blocks, attach the metal brackets with carriage bolts, washers, and nuts. The brackets should be flush with the blocks and have holes that match the wooden plank.
Top the blocks and dowels with the second wooden board, aligning its holes with the dowels. Pass the carriage bolts through the brackets, wooden plank, and dowel holes. Bolts are secured with washers and nuts.
Finish by sanding the reformer's whole surface to remove rough edges. The reformer can be painted or stained.
Congratulations on making your Pilates reformer! DIY reformers are ideal for home Pilates without a lot of equipment. It lets you tailor your workout to your requirements and preferences.
Making a Pilates reformer at home is a simple and economical way to practise Pilates without breaking the bank. A homemade reformer can be as effective as a commercial one with a few materials and equipment. Why not test it and see how it improves Pilates?

Q&A
1. What materials do pilates reformers require?
– Pilates reformers require wood, metal springs, ropes, pulleys, and cushioning.
2. Can you DIY a pilates reformer?
You can create a pilates reformer at home with the correct equipment and materials. However, pre-made reformers may be cheaper.
3. Are there internet DIY pilates reformer tutorials?
Pilates reformer tutorials and materials are available online. These are on YouTube and Pinterest.
Conclusion
Conclusion: Wood, springs, ropes, and pulleys are needed to create a Pilates reformer. For safety and proper building, follow a detailed blueprint or tutorial. To prolong reformer life and effectiveness, use high-quality materials and tools.